I love Washi tape. But do you know what else I love? Chart tape, and all the neat design work I can do with it.

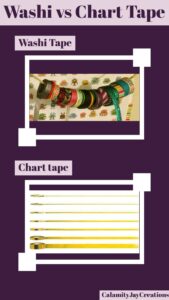
What the hell is chart tape? It’s very thin colored tapes, with different widths, meant to be used to delineate aspects of topographical maps. (My parents work with maps; I’ve grown up with lots of chart tape and colored pencils.) In the non-map world, they’re delicate pinstripes and bright color accents. (They’re also great for stenciling, but that’s another post.) You’d never be able to cut Washi tape down enough to do this project!

Now that I finished singing the praises of chart tape, let’s get to it.
Today we’re going to snazz up a corkboard It’s fast, fun, and a good way to add small color details to a room to tie it all together. Make this teen staple fit for an adult house by adding subtle pinstripes on the frame to match your room’s color story.
Supplies:
- A cork board with black wood frame (or whatever you want, as long as it’s not textured)
- An assortment of detailing tape or chart tape– different kinds of thin, colorful tape. For best results, use a mix of different thicknesses (it makes the finished project look more intentional).

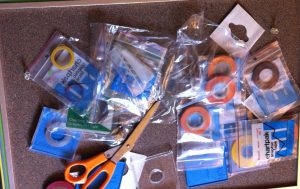
My big messy pile of chart tape, guarded by my dog Kismet
Time:
Half an hour? It goes pretty quickly once you’ve decided on everything.
Instructions:
- First off, plan it out. Where is it going to be hung? What colors can you see when you look there, and what other colors are emphasized in that room? (What “color story” are you trying to tell?) More prosaically, what tape do you have, and what combo looks good? Figure it out. Put bits of tape on a piece of paper and move them around until you have a combo and an order you like.

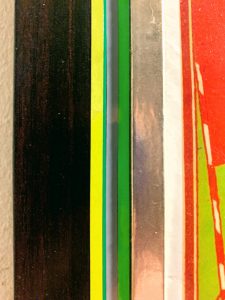
This is the color combo I chose for mine
- Clean the frame (it’ll help the tape stick) and let it dry
- Start taping! Begin on a short side of the rectangle so you can get the hang of it. Put one end of the tape against a bottom corner, stretch the tape out until it’s straight, then carefully use a finger to press it down. Do it slowly and carefully, because there’s no room for error here. It’s got to be exactly straight with no bubbles, and any mistakes really show when you’re using tape as thin as in the picture below.

Caution: the thinnest tape is the hardest to get straight
4. Keep going! Mix it up! Remember, different widths give it depth and makes it look more interesting.

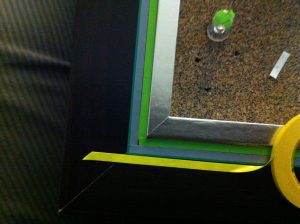
Use one long piece for each side. On the final side (ie when you wrap around to where you started) extend the tape past the frame to meet the first tape you put down (aka complete the square, don’t leave a little gap at the end corner).

Finish the corners cleanly, like this
5. Cover with all the cool random stuff you enjoy but don’t have another place for! (Artistically, of course.)

This is my cool random stuff!
The not-really-a-secret here is that you can use this same technique to make anything pop in a colorful way, not just a bulletin board.
What else do you think would look awesome with this treatment? I might use your idea in a future post!
Want more ideas for using tape to DIY?
Leave a Reply